You can create a new Order Filter by logging into the Stages app and heading to the Order Filters page. If you haven’t created any filters before, you’ll see a big callout in the middle of the page prompting you to create your first one; if you have created filters before, this page lists them instead. Either way, you’ll need to click the Create Order Filter button at the top right of the page.
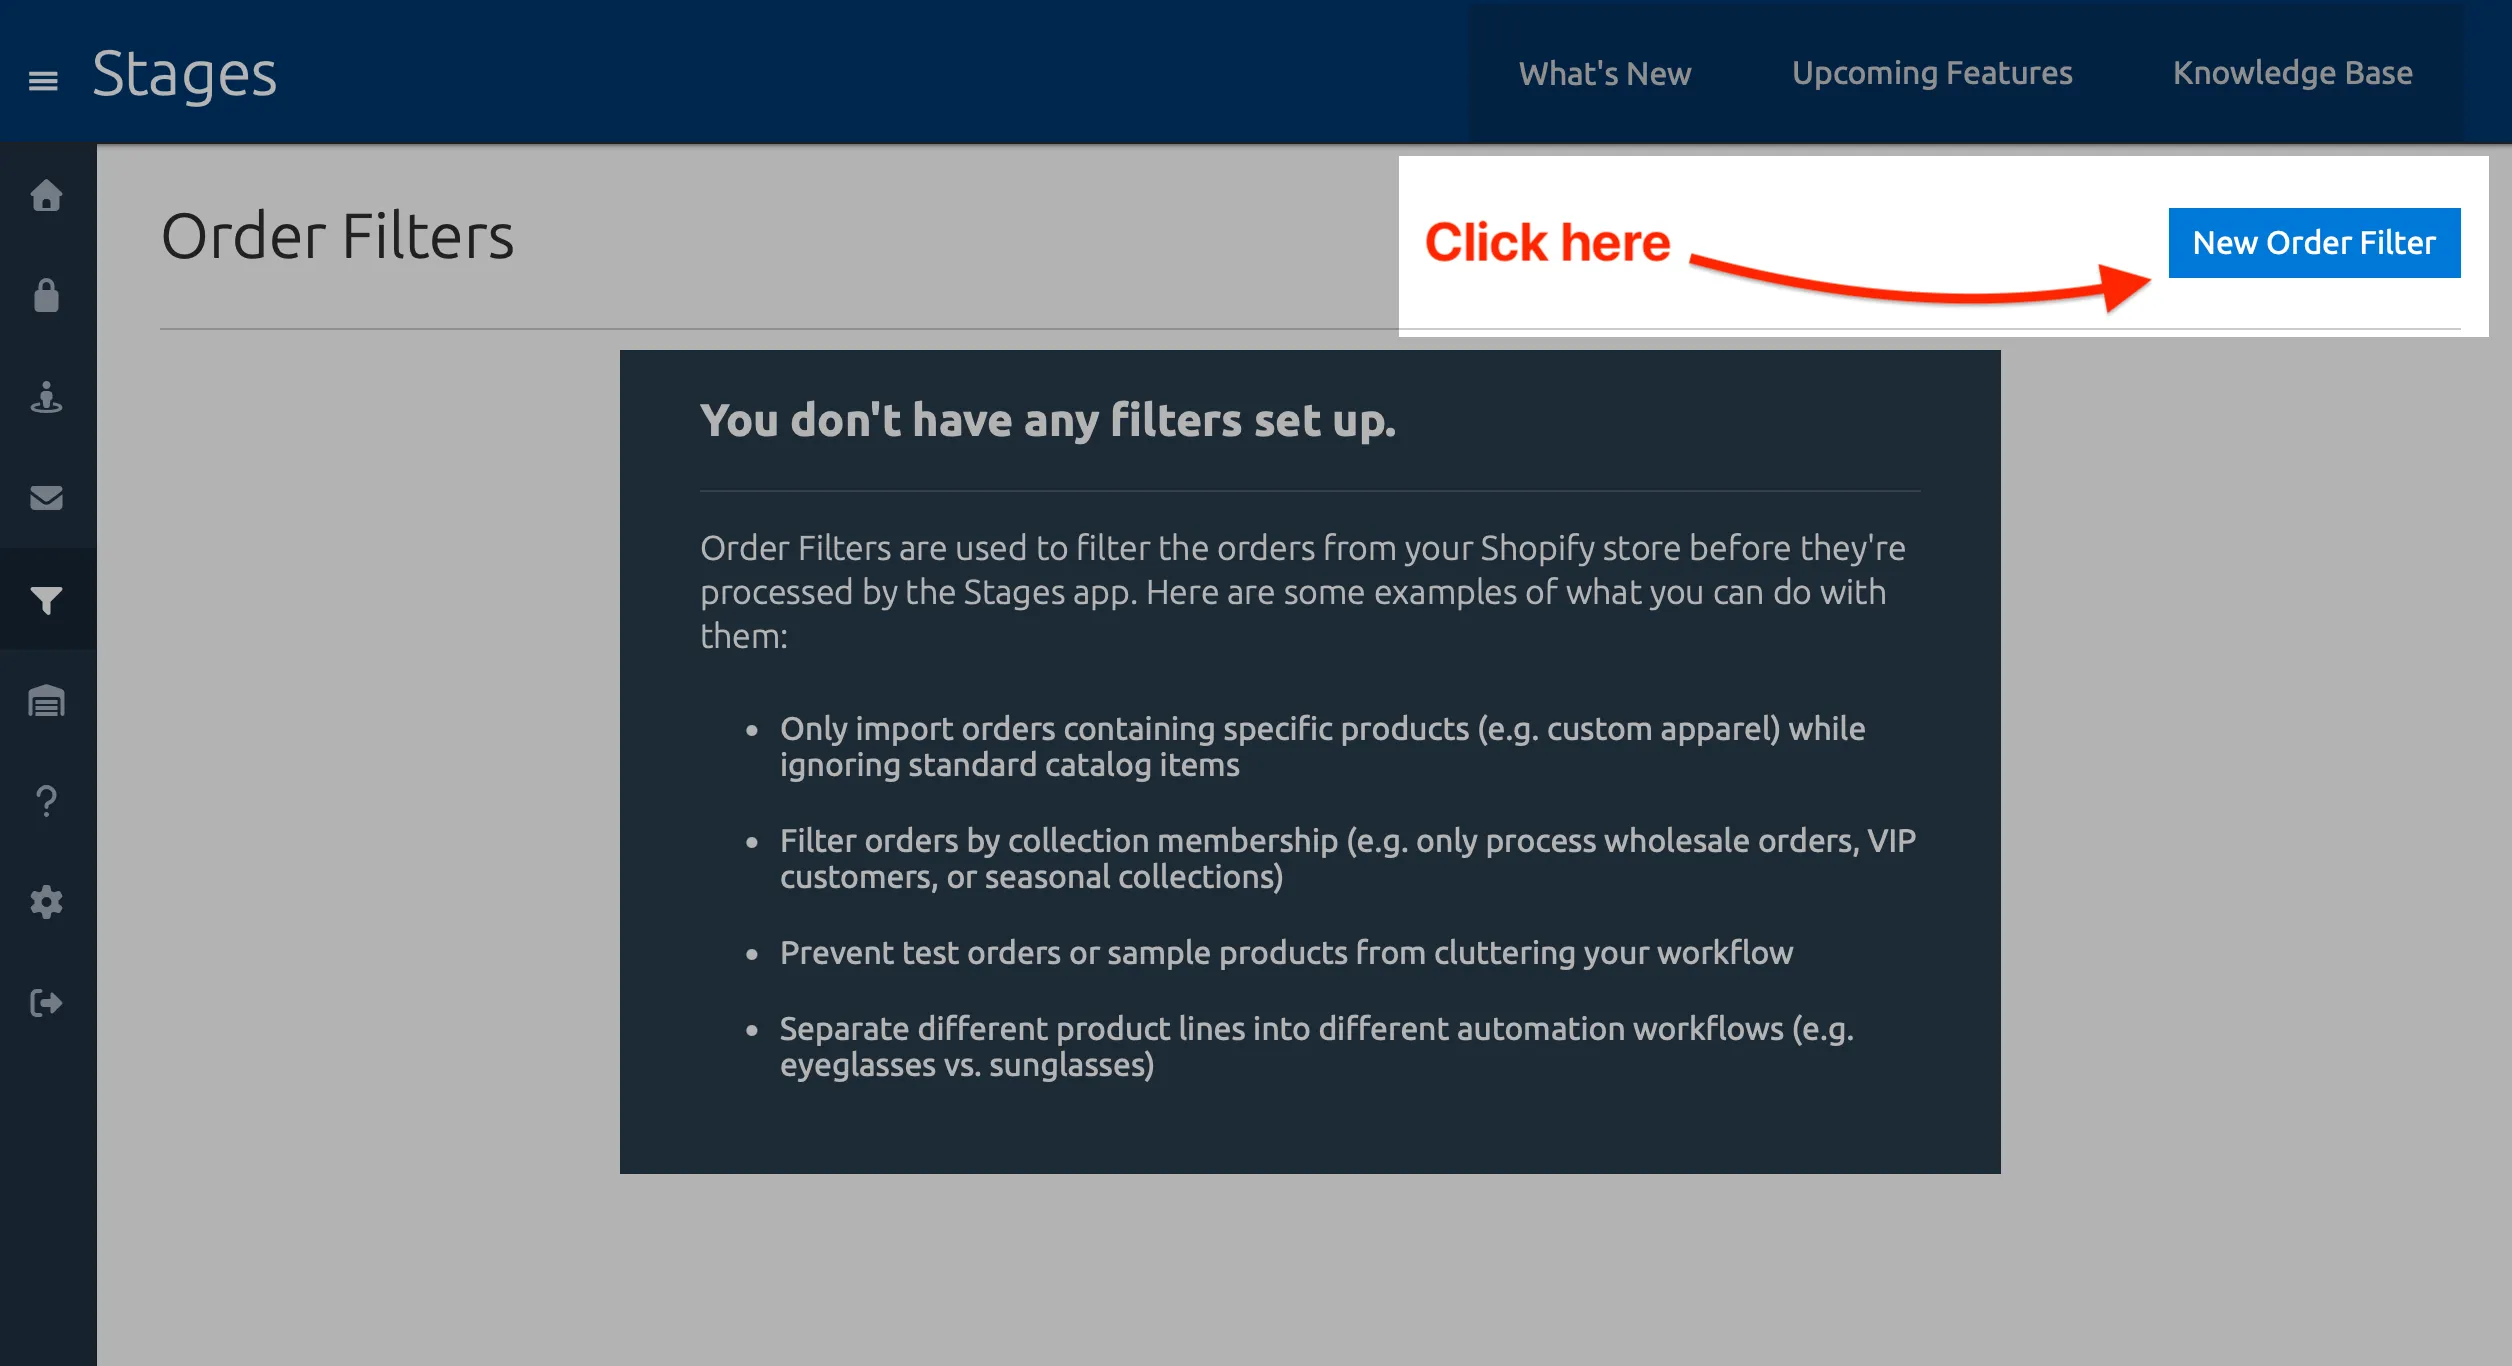
Each new Order Filter has three parts that you’ll configure: the Shopify event type(s) that the filter will act on; a list of criteria that determines whether the filter will allow the order from the Shopify event into the app; and a name for the new filter so you can easily differentiate it from other filters.
Required: Shopify event type
Section titled “Required: Shopify event type”Every Order Filter must specify at least one Shopify event type. This is the foundation of your filter, it’s what the Stages app uses to decide if it should even pull in your filter for evaluation in the first place. Without it, the filter has no events to evaluate against.
Whenever anything happens with an order on your Shopify store, Shopify sends what they call an “event” to the Stages app, letting us know “hey, this thing just happened, maybe you want to do something with it.” There are a multitude of events that Shopify sends out for orders, but the ones that are relevant or the Stages app are when an order is created, updated, fulfilled and deleted.
When creating your new Order Filter, you’ll be asked which of these events you want to the filter to evaluate. You can select all four of them (this is the most common configuration), but you must select at least one.
| Shopify event type | How Stages handles the event (if it passes your filter.) | Automation rules are triggered? |
|---|---|---|
| Order Created | Stages will save the order and it will appears in your Orders dashboard. | Yes |
| Order Updated | Stages will sync the customer’s notes if they’ve changed. | No |
| Order Fulfilled | Nothing happens (outside of triggering applicable Automation Rules.) | Yes |
| Order Deleted | Nothing happens. | Yes |
Optional Filter Criteria
Section titled “Optional Filter Criteria”This is the real bread and butter of the Order Filter – the criteria you define here make up the rules that decide whether an order will be processed or ignored by Stages (assuming “ignored” is how you’ve decided to configure your Global Skip Behavior, anyway.)
You can add one of each of the following criteria types to your Order Filter, or you can skip them entirely and let the order through unconditionally.
Shopify Products
Section titled “Shopify Products”The Shopify Products filter criteria lets you filter orders based on which Shopify products are present in your customers’ orders. For example, you can configure your Order Filter to allow just those orders which have the Custom Hoodie or Embroidered Belt products, while excluding any order which doesn’t have one of those products.
To add this condition to your Order Filter, select the Shopify Products option from the Optional Conditions dropdown. If you’ve never used this filter criteria before, the app may prompt you to grant it the permission it needs to read the products on your store (which it doesn’t have by default):
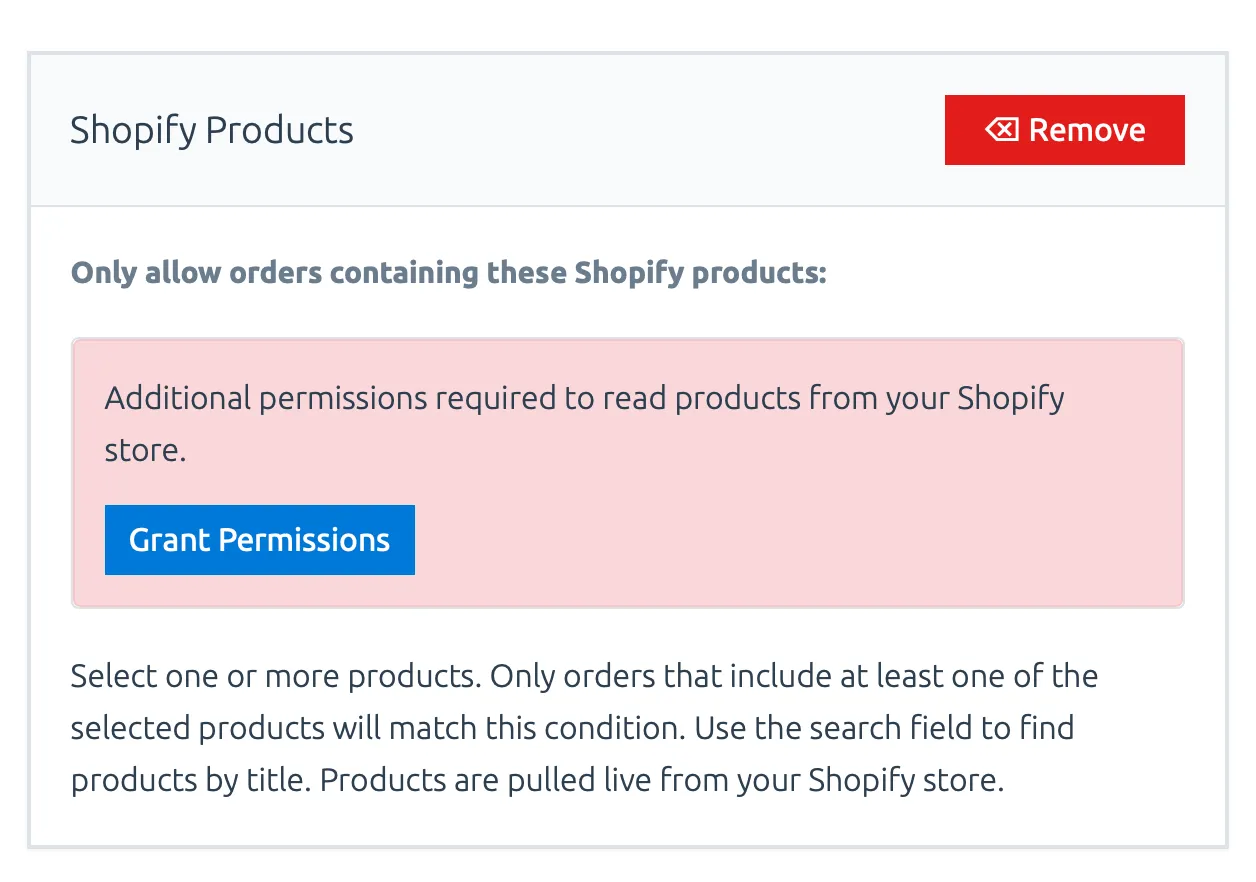
Once the app has permission to read your products (or, if it already had that permission), the Shopify Products criteria form will load your products into a grid where you can search for the products you want to add to the filter.
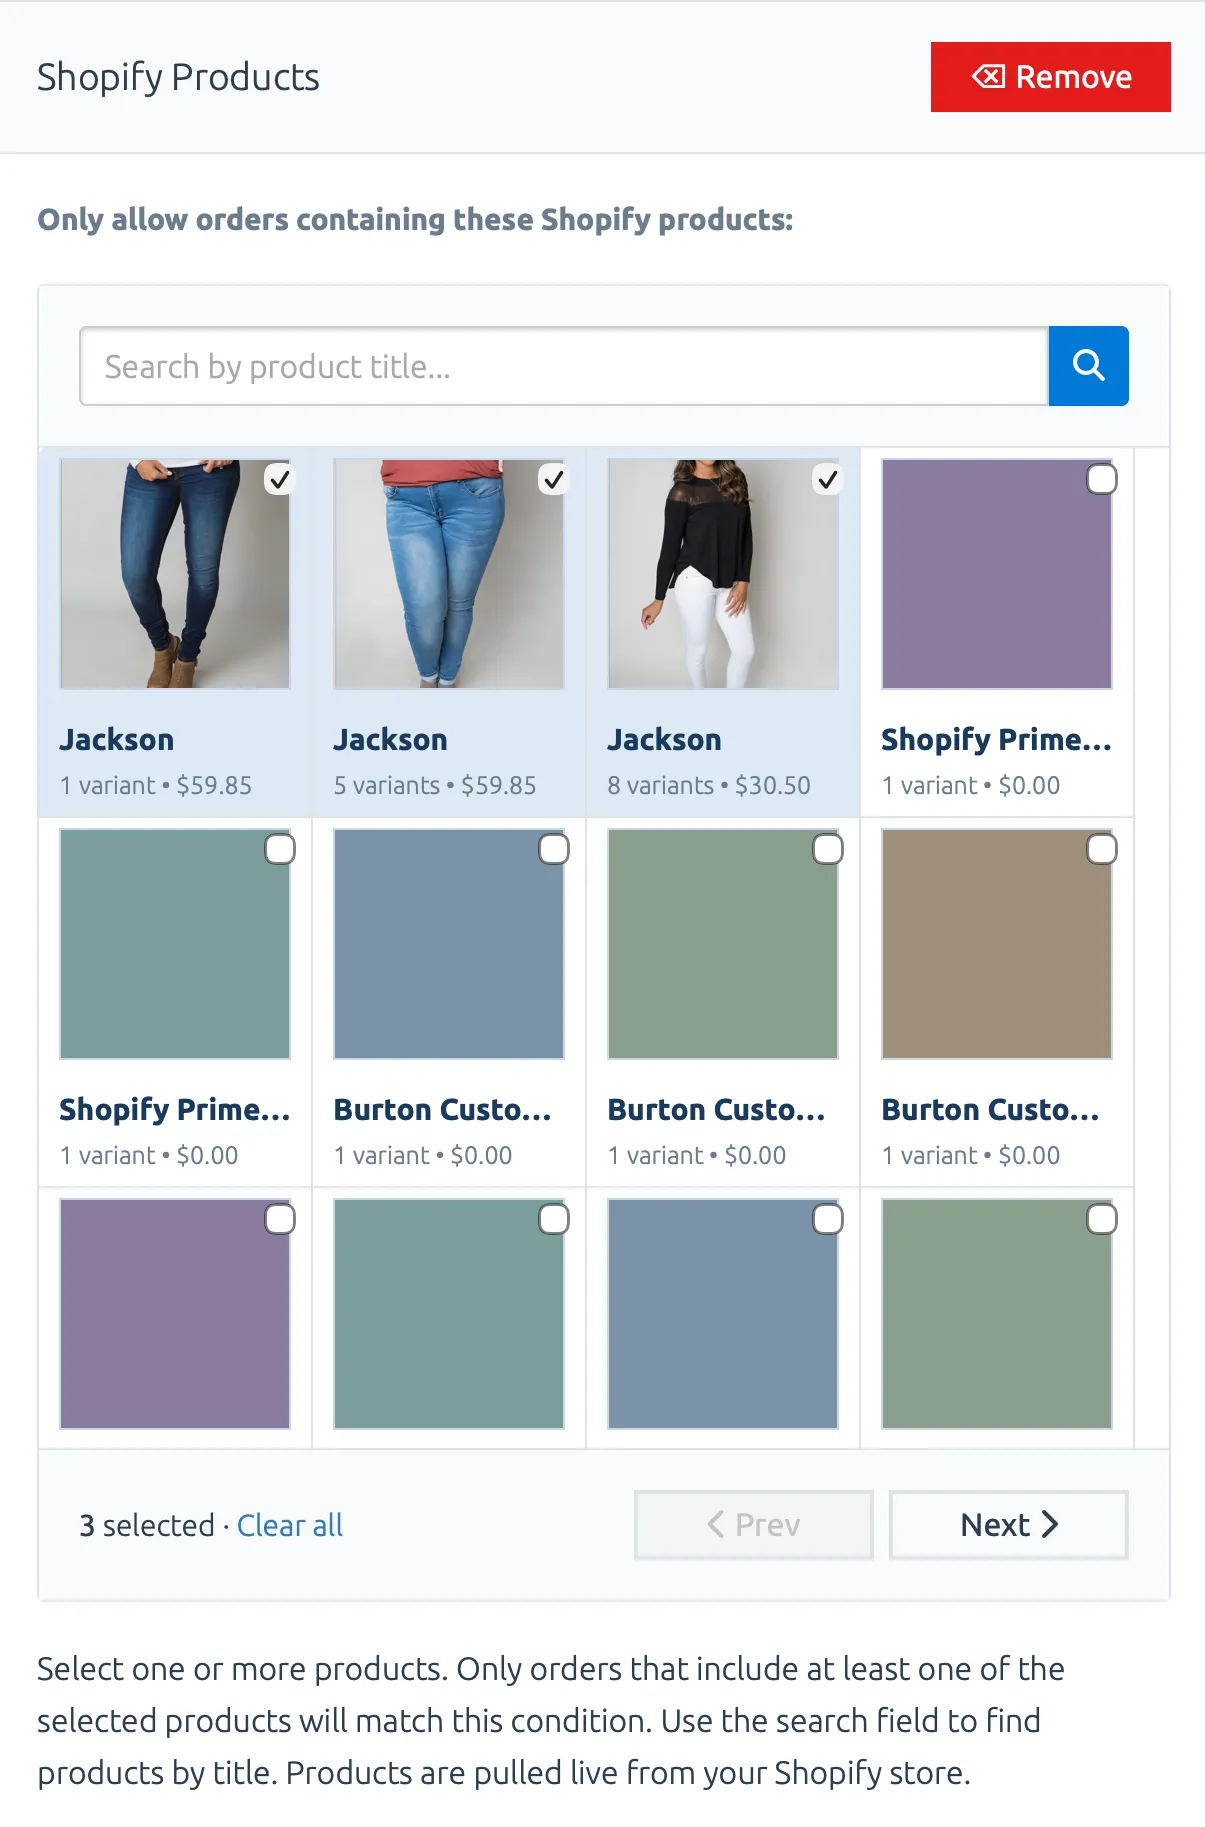
Select one or more products from your Shopify catalog to add them to the filter. There’s no limit to how many products you select here, though for practicality purposes, you should use a Shopify product collection and the accompanying criteria when the list starts to grow large.
Shopify Collections
Section titled “Shopify Collections”You can use the Shopify Collections criteria to match orders based on which product collections the order’s items belong to. This works with both smart and “dumb” Shopify collections. As an example, you can configure this criteria so that the filter passes when an order contains any item from your “Customizable Bicycles” product collection.
To add this condition to your Order Filter, select the Shopify Collections option from the Optional Conditions dropdown. This will add the criteria form to your filter and load your product collections into a grid where you can search through and select the collections you want to add to the filter.
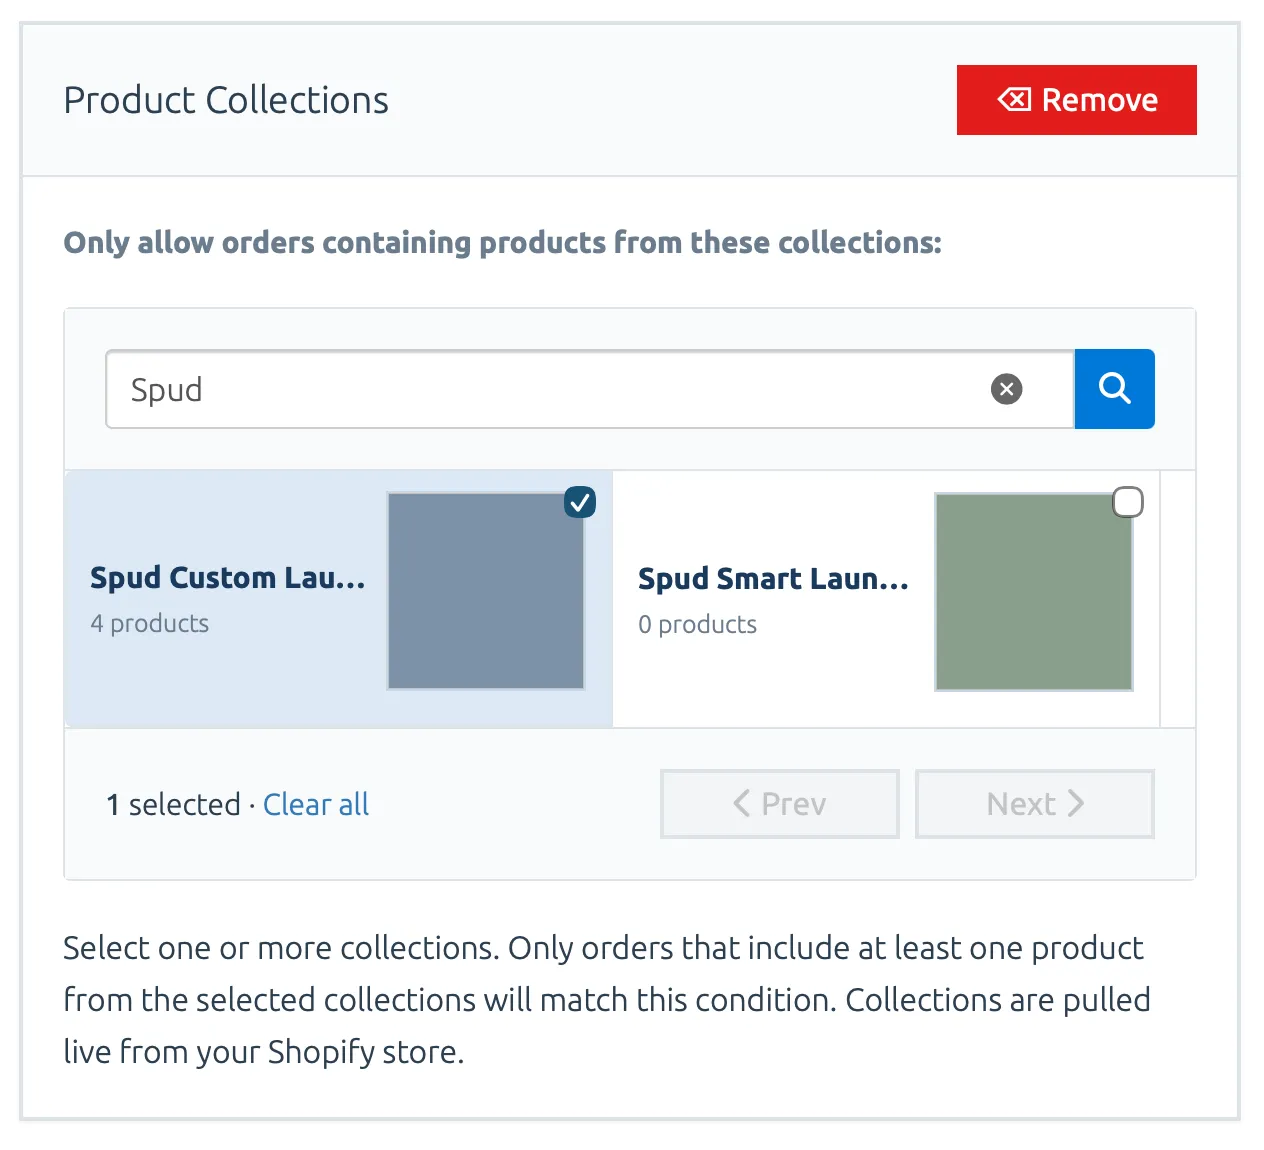
Select one or more collections to add them to the filter. There’s no limit to how many collections you select here.
Order Tags
Section titled “Order Tags”Using the Order Tags criterion, it’s possible to create a filter that only allows orders which have specific tags into the Stages app. You could use this to create a filter that only allows orders with the “B2C” or “Needs Engraving” tags into the Stages app, for example, while excluding all other orders.
To use this criteria, select the Order Tags option from the Optional Conditions dropdown. This will add a form with a text box to the page. Enter the names of one or more of your order tags into that text box, and press Enter after each one to “lock it in.”
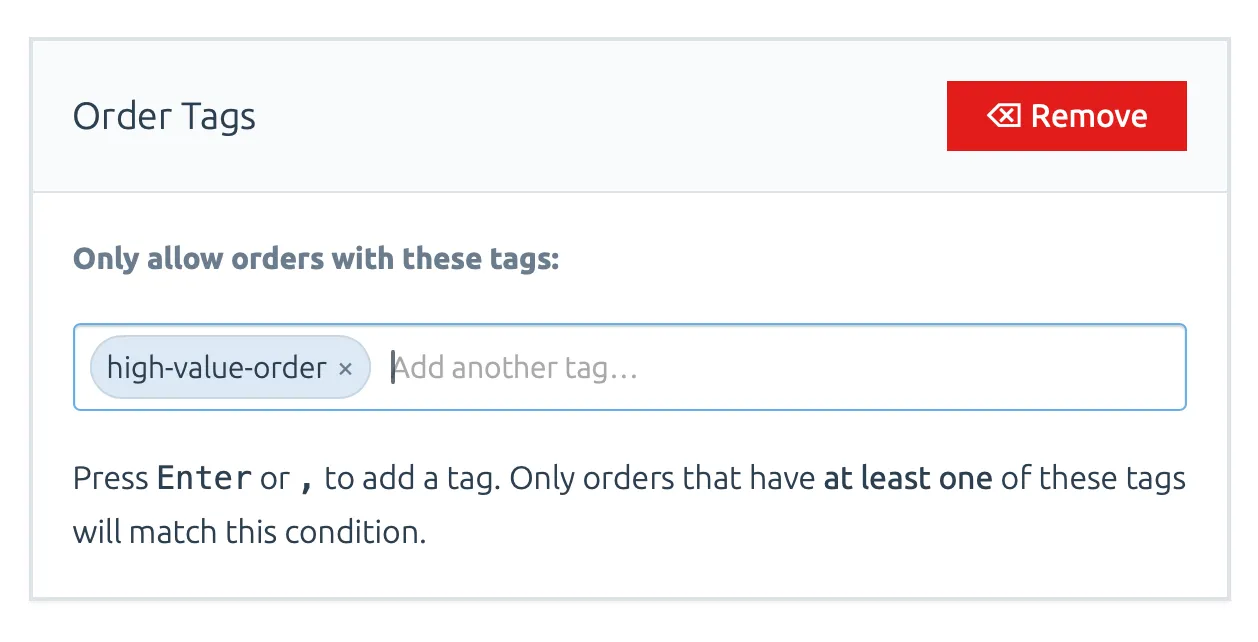
While the names of the tags that you enter here are case-insensitive (i.e. capitalization does not matter), make sure that you spell the name of the tag correctly. If the name of the tag(s) in the filter does not match the name of the order’s tag(s), this criteria will not pass the order.
| Filter tag | Order tag | Filter passes order? |
|---|---|---|
| FooBar | FooBar | ✅ |
| foobar | FooBar | ✅ |
| FOOBAR | FooBar | ✅ |
| fobar | FooBar | ❌ |
| FooBarr | FooBar | ❌ |
| FooBarBaz | FooBar | ❌ |
Order Value
Section titled “Order Value”A fairly basic criteria, this one simply looks at the total value of your order in your store’s default currency and evaluates it using the comparisons you define. With this criteria, you could create a filter which only lets orders with a value greater than $50 into the app, while excluding all other orders. Or, you could create a filter that lets in orders with a total value between $10 and $75; orders with a total value less than $15; and so on.
To use this criteria, select the Order Value option from the Optional Conditions dropdown. Doing so will add a form that looks like this to the page;
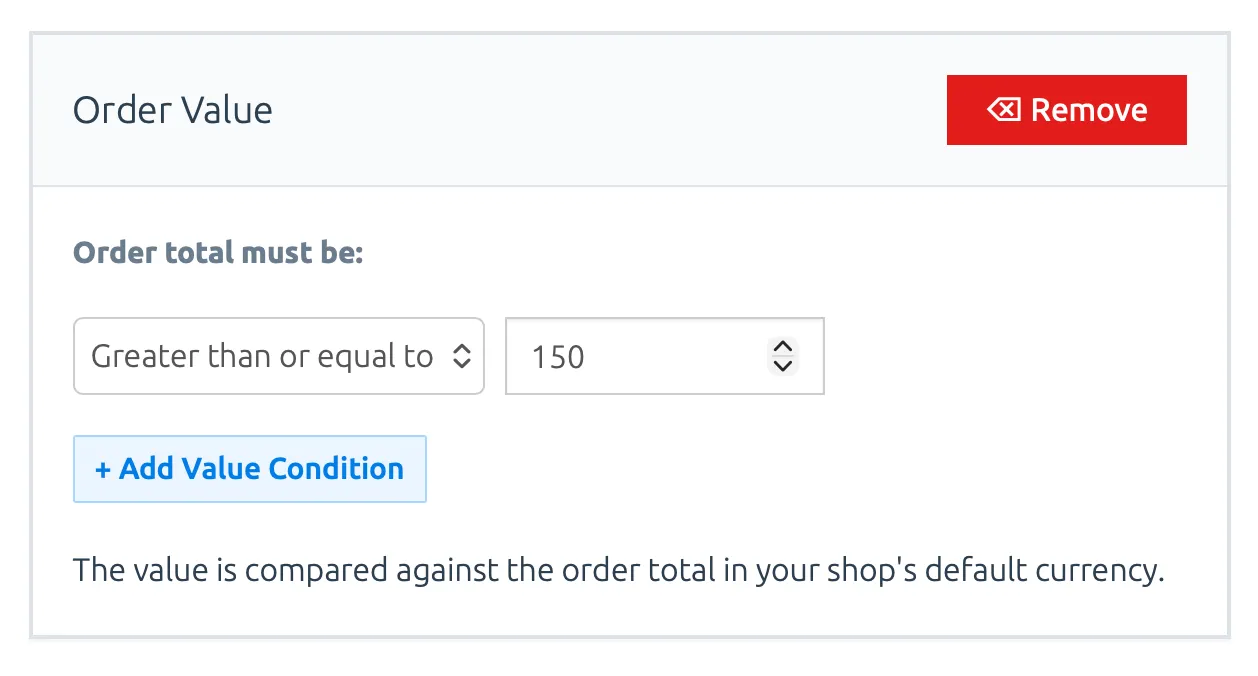
The new form asks will ask you to configure the operator and value to be used in the comparison. You can select from one of the following operator types:
| Operator | Description |
|---|---|
Equal to (=) |
The order’s total value must be equal to the configured value. |
Not equal to (≠) |
The order’s total value must not be equal to the configured value. |
Greater than (>) |
The order’s total value must be greater than the configured value. |
Greater than or equal to (≥) |
The order’s total value must be greater than or equal to the configured value. |
Lesser than (<) |
The order’s total value must be less than the configured value. |
Lesser than or equal to (≤) |
The order’s total value must be less than or equal to the configured value. |
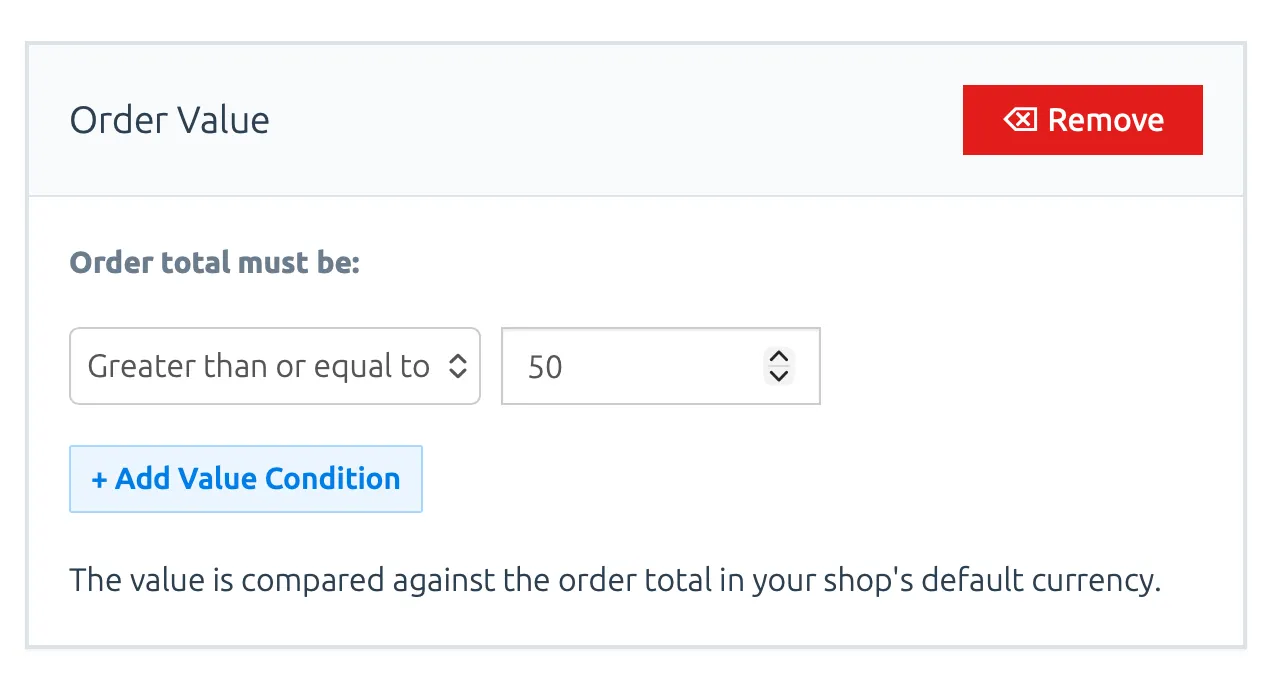
In this image, the form is configured to allow any order that has a value greater than or equal to $50 in the shop’s native currency.
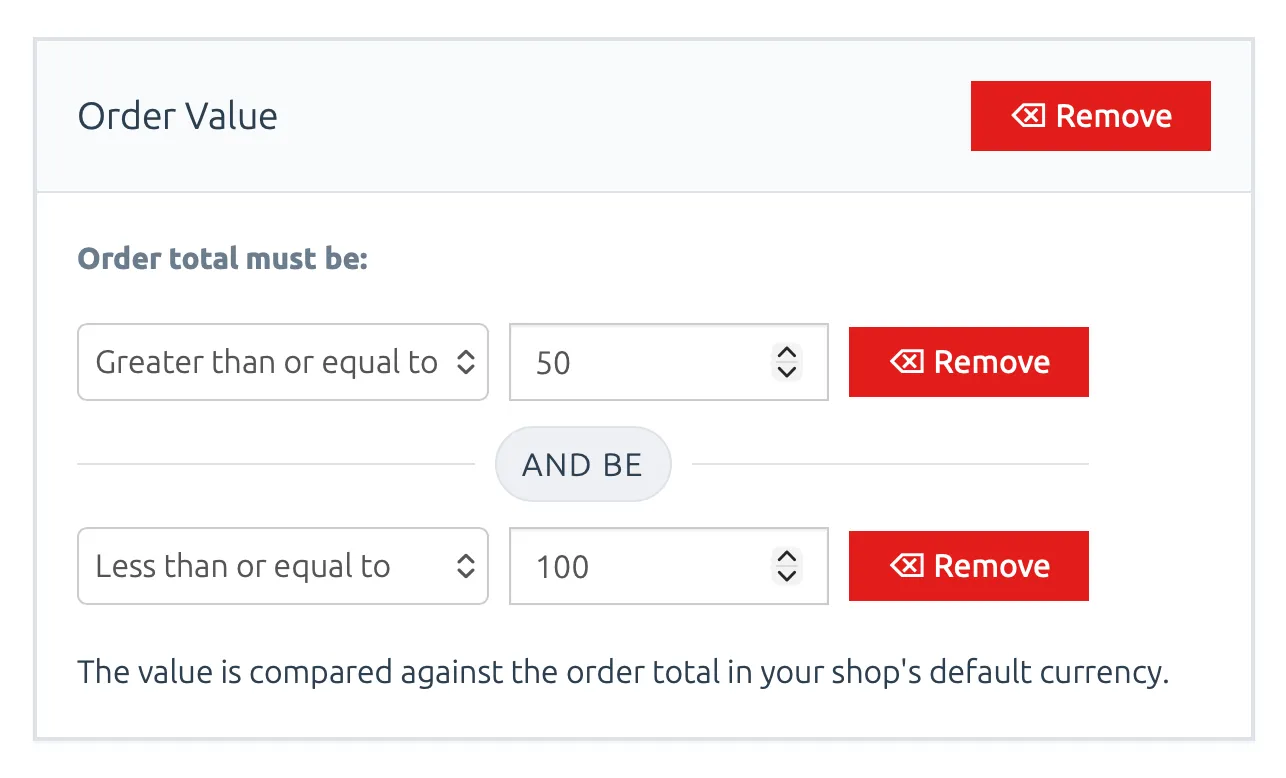
You can define up to two operator conditions, so long as they make logical sense (i.e. you can’t have two “Equal to” operators at the same time, since the order only has one total value). For example, in this image we’ve configured the filter to allow any order between $50 and $100.
Suggest more criteria!
Section titled “Suggest more criteria!”Is there something you’d like to do with Order Filters, but you can’t do it with the options and criteria currently available in the Stages app? Send me an email at support@getstages.com so we can talk about it!
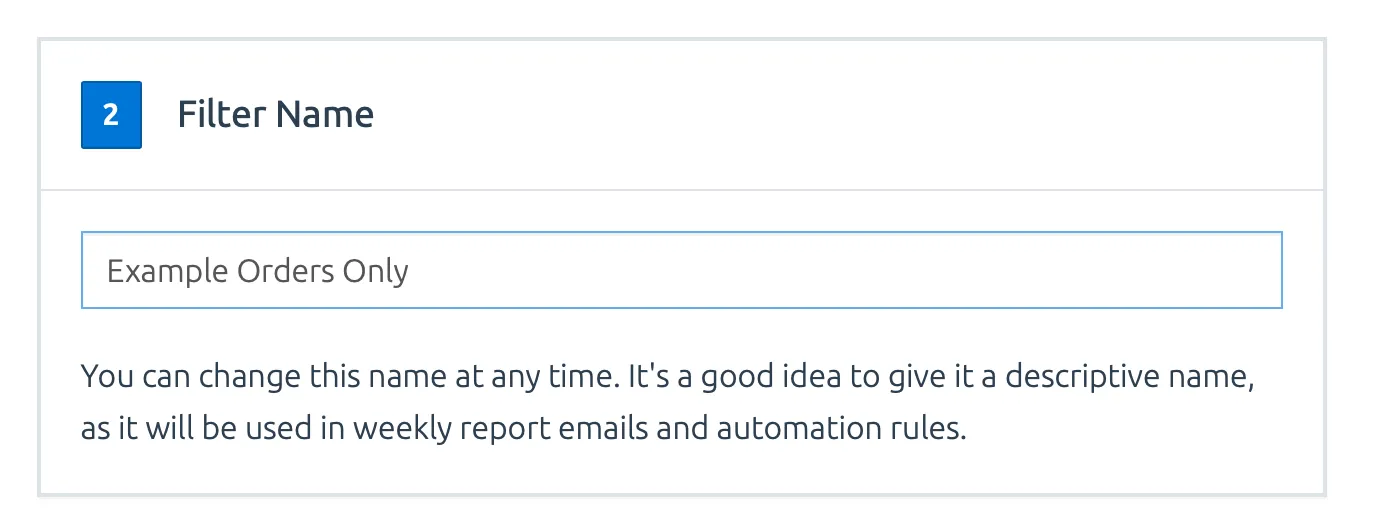
Name the filter
Section titled “Name the filter”The last step, before saving the filter, is to give it a name. This name is completely arbitrary – you can call it anything you like – it’s only used in the Order Filters dashboard page, and in the Activity Logs page, to help differentiate one filter from another in case you have multiple.
Saving Your Filter
Section titled “Saving Your Filter”Once you’ve configured your filter and criterion to your liking, scroll up to the top right of the page and click the Save button.
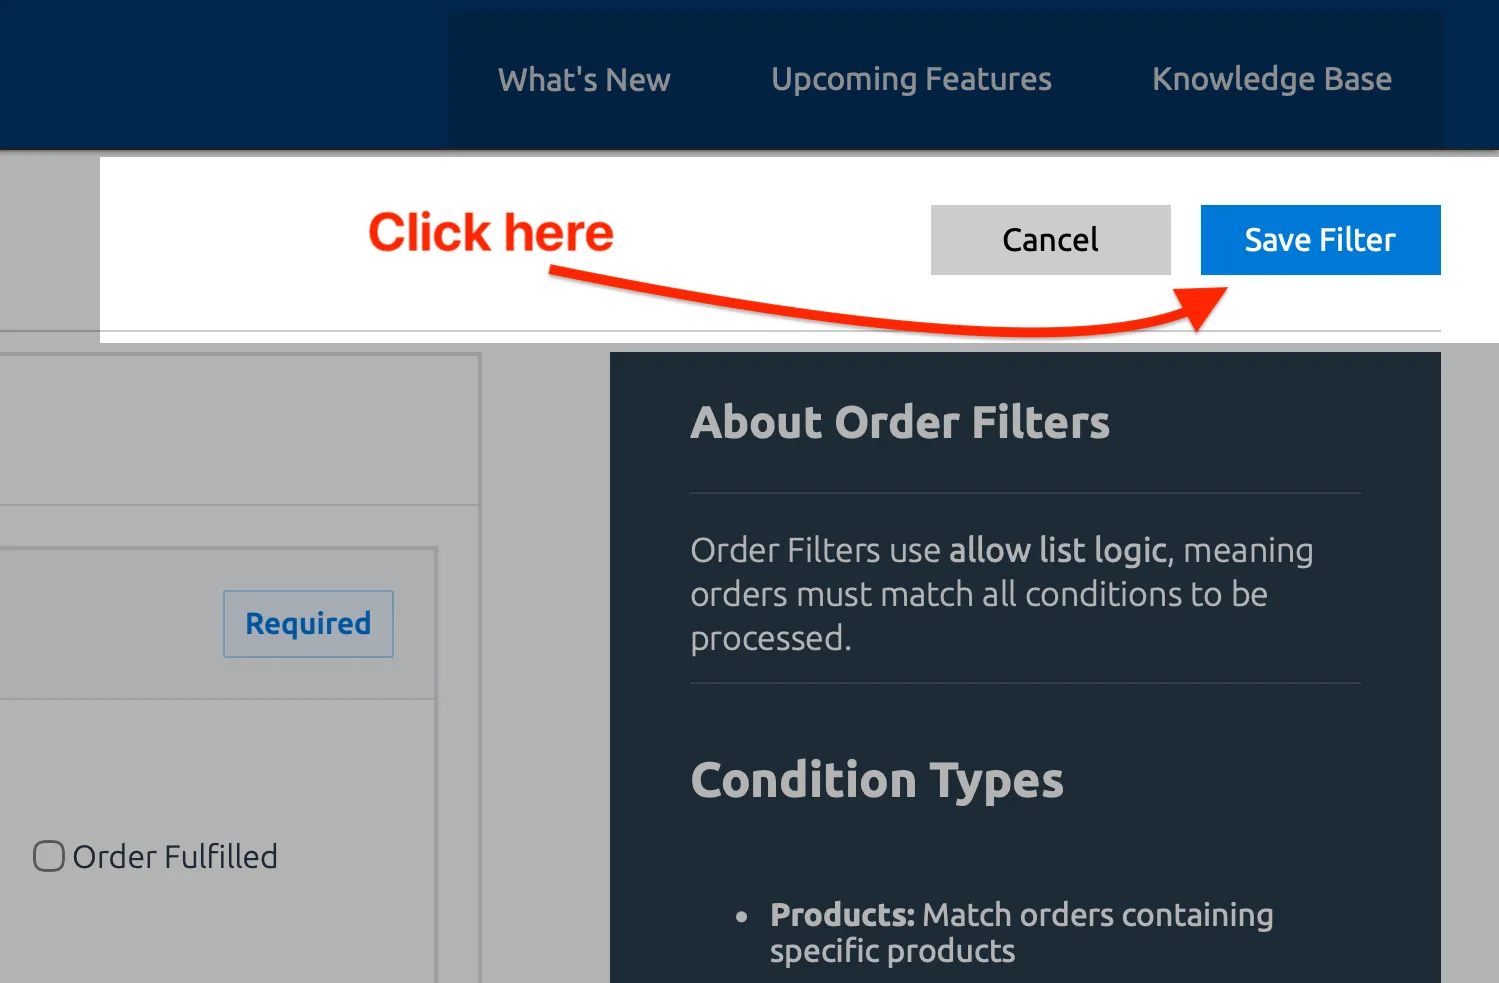
As soon as it’s done saving, the new filter will immediately become active and begin evaluating incoming orders. At that point, you can head over to the Activity Logs page to see exactly how your orders are being evaluated based on your Order Filters and Global Skip Behavior setting, along with the outcome of that evaluation, all in one table.