In the account settings page of the Stages app, you will find all of the options to change your log in information, billing, the people on your team, making changes to your stages, and the Integrations.
Login Settings
Section titled “Login Settings”On this page you will be able to enter/change the name for your account as well as your email address, and make changes to your password.
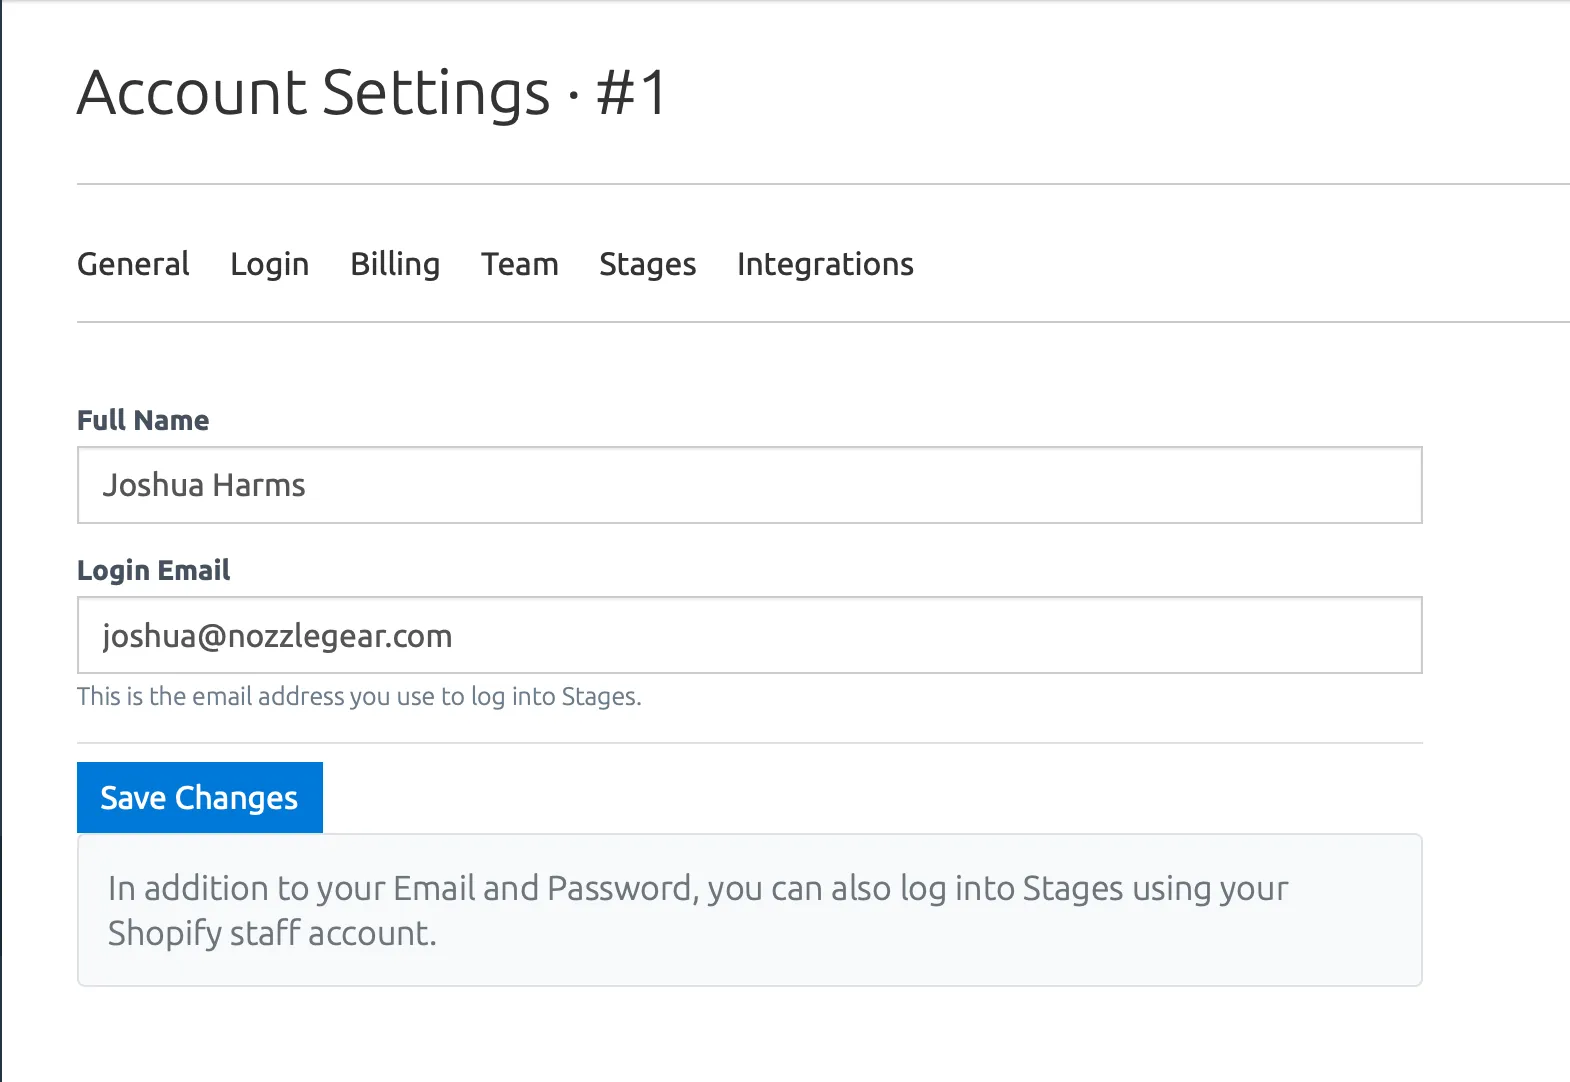
Adding an Email and Password to a Shopify OAuth Account
Section titled “Adding an Email and Password to a Shopify OAuth Account”If you signed in to Stages through your Shopify store, you can add an email address and password to your account. This lets you log in directly without going through Shopify.
To do this, go to the Login section and enter your desired email address and password. Once saved, you can use either your Shopify account or your email and password to log in.
Billing
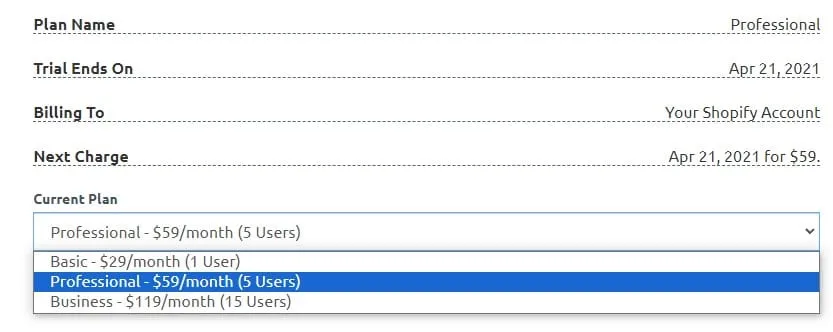
Section titled “Billing”Here you can view your plan name, when your trial ends, your billing information and when your next charge will occur.
From here you will also be able to change the plan you are on, whether you’re on basic, professional, or business.
To cancel your subscription, see Cancel Subscription.
Team Members
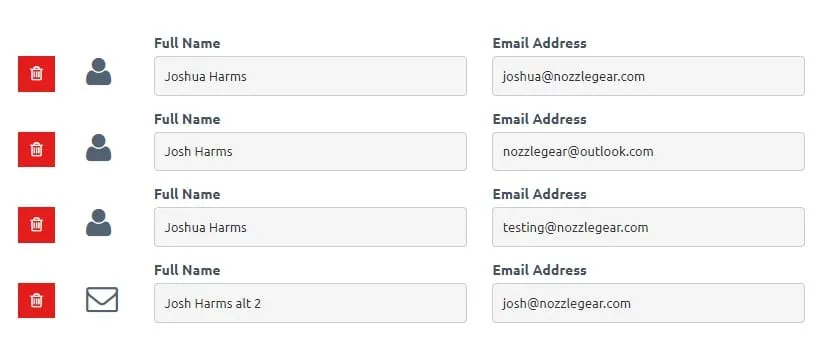
Section titled “Team Members”Here is where any changes that need to be made to your team happen. You can enter each team members name and their email. You can add and remove members and make changes at any time. See Team Members for more details.
The amount of members on your team will depend on your Stages subscription which you can view under the billing section in the account settings, and you can see all available subscription plans at the Plans & Pricing Page.
If a team member has an account on your Shopify store, they can skip the invite process and automatically become part of your team by opening the Stages app from the Shopify admin dashboard. Stages knows that they’re a staff member on your store and will automatically add them to your team account.
Managing Stages
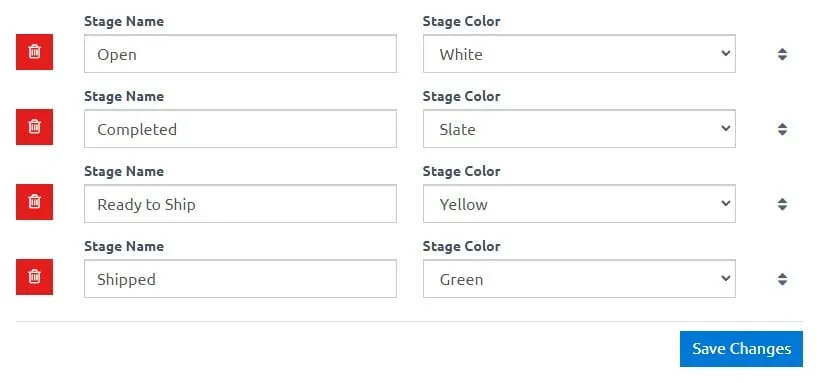
Section titled “Managing Stages”Here is where you can create new stages, and make changes to existing stages. New stages can be made by clicking create stage at the top of the dashboard. You can name each stage to suit your needs, and choose a color to make it stand out to you and your team. If needed you can also delete old stages if your needs have changed.
Integrations
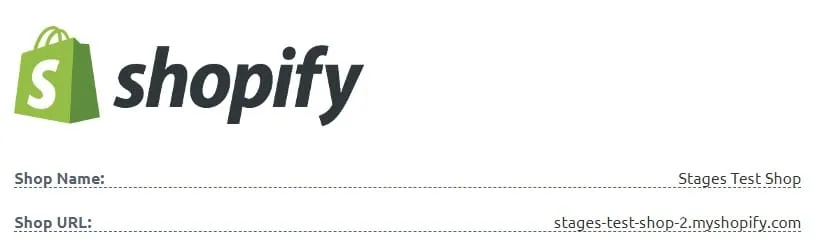
Section titled “Integrations”This page shows your Shopify store name and shop URL.