Order Details
Section titled “Order Details”Click an Order ID on the Orders dashboard to open the Order Details page. This is where you’ll spend most of your time working with orders — viewing their full history, changing stages, adding notes, and managing their lifecycle.
Event timeline
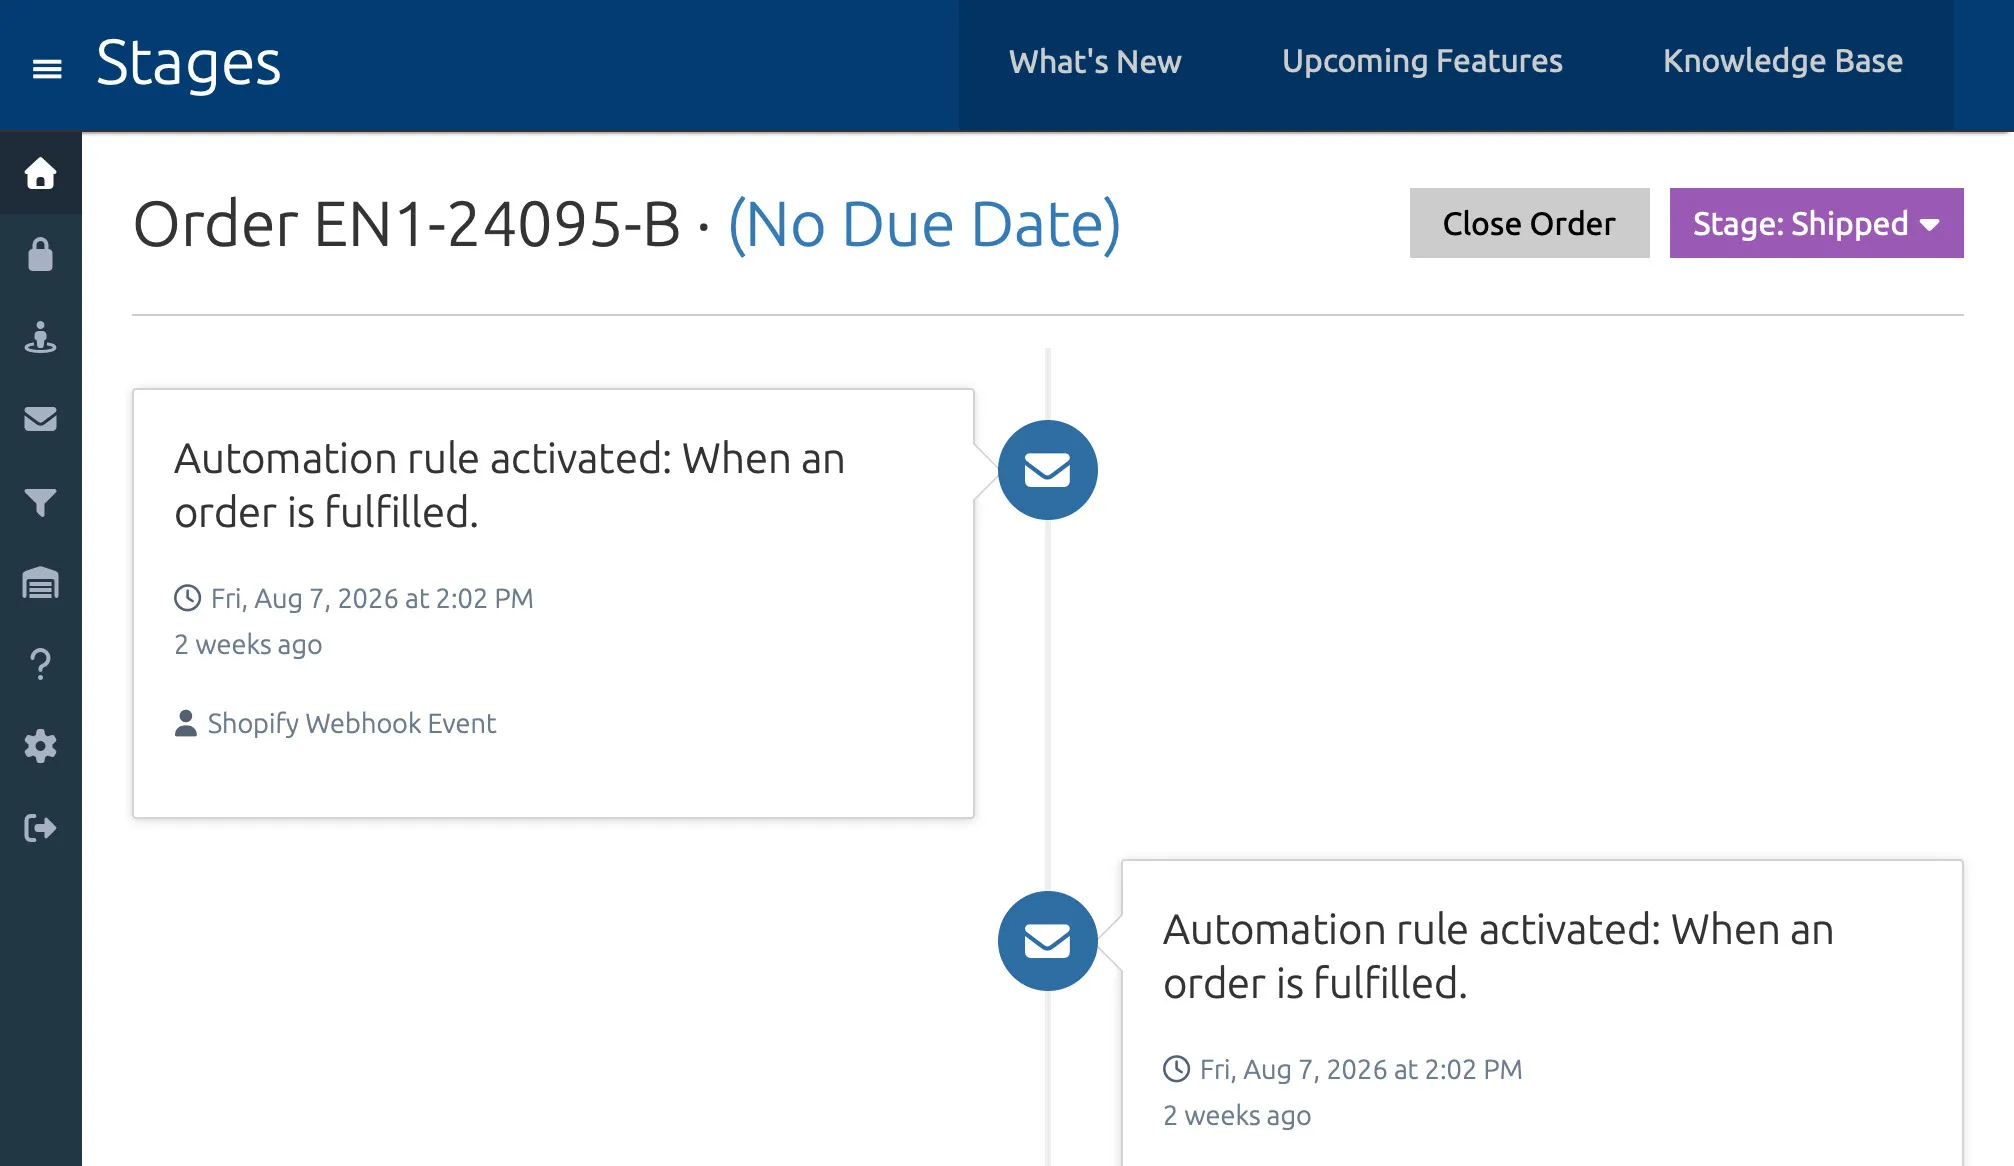
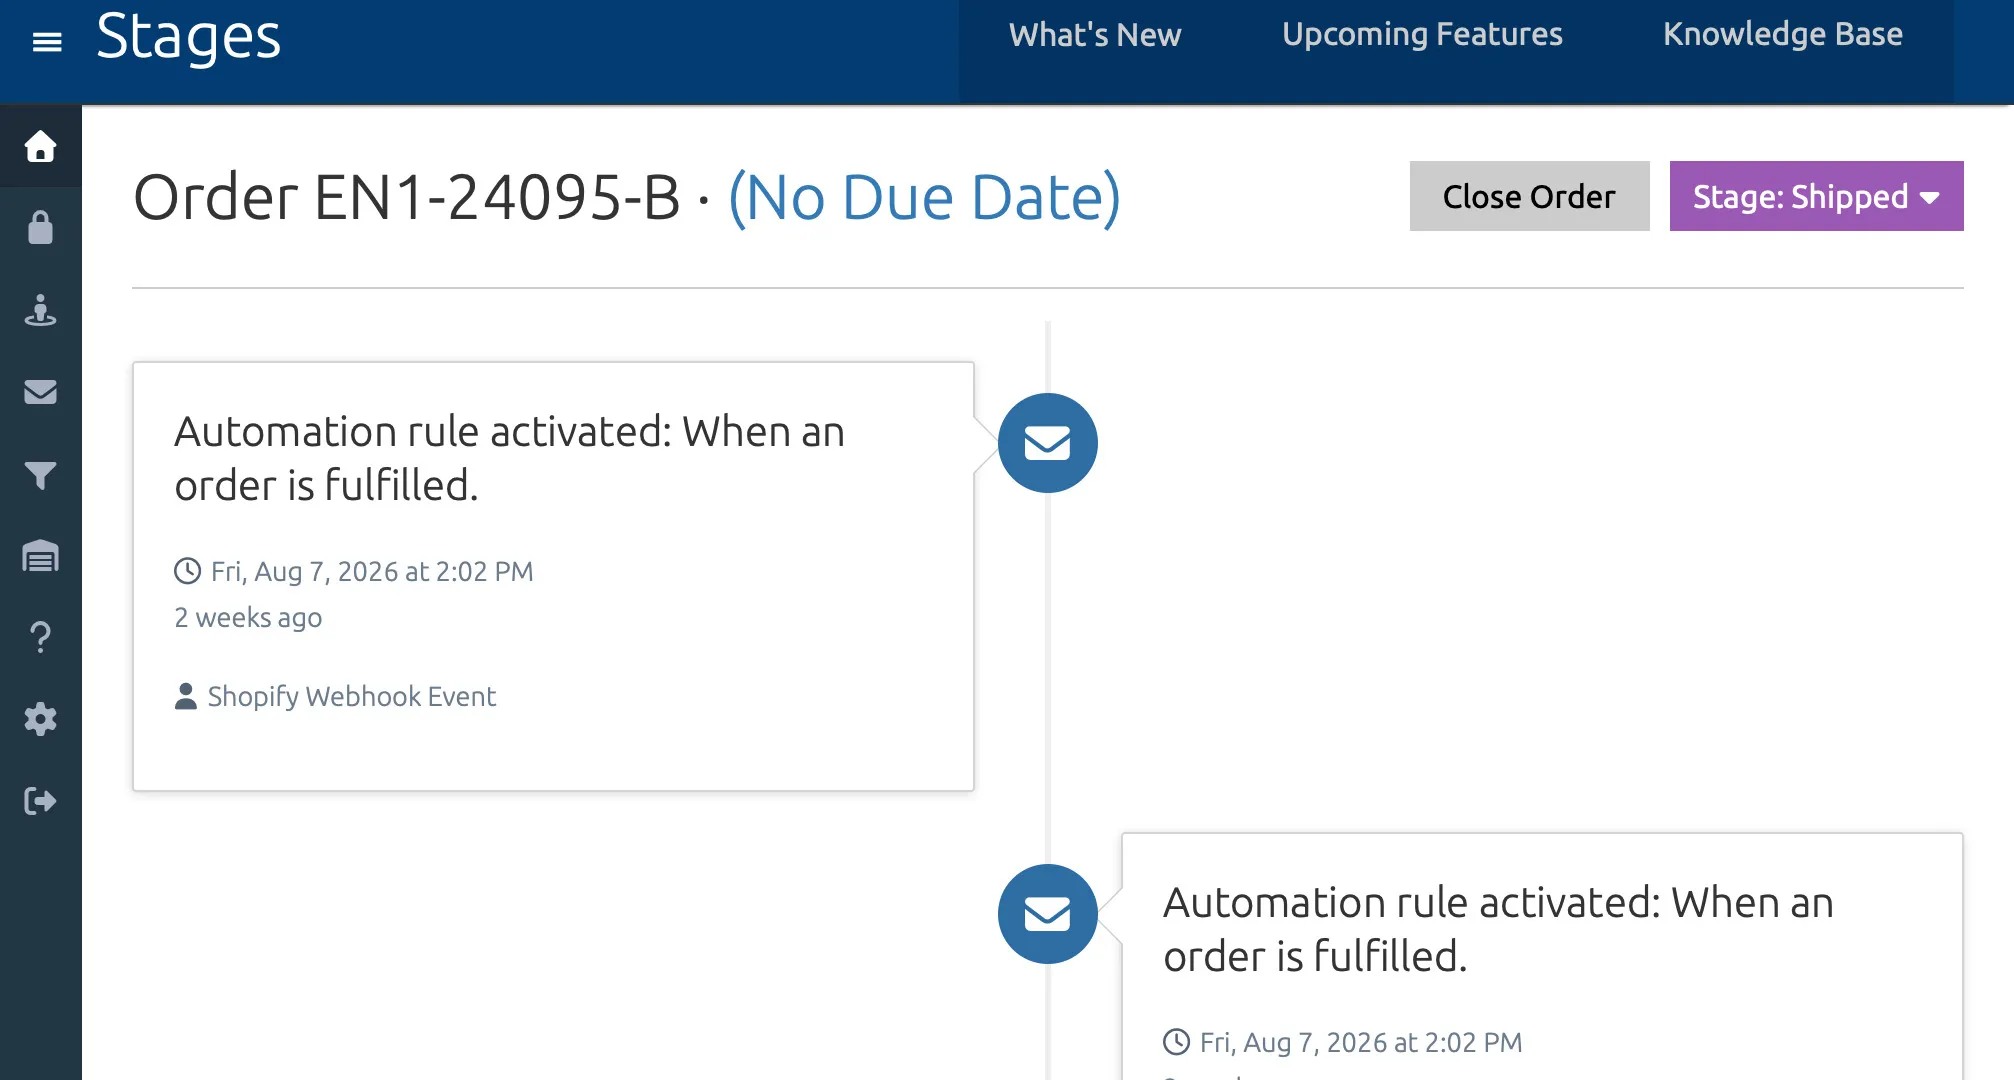
Section titled “Event timeline”Immediately at the top of the page is the event timeline — a chronological log of everything that’s happened to this order. It shows when stages were changed, when the order was archived or unarchived, and when automated emails were sent. This gives you a complete audit trail of the order’s history.
Order details
Section titled “Order details”Below the event timeline is the order details section. This lists:
- Line items — Each product in the order with its name, quantity, and price
- Related orders — Other orders placed by the same customer
- Customer notes — Notes left by the customer at checkout
Team notes
Section titled “Team notes”Below the customer notes, you’ll find team notes. These are internal notes visible only to your team — customers never see them. You can add, edit, and remove team notes at any time. See Team Notes for more information about using notes.
Changing the stage
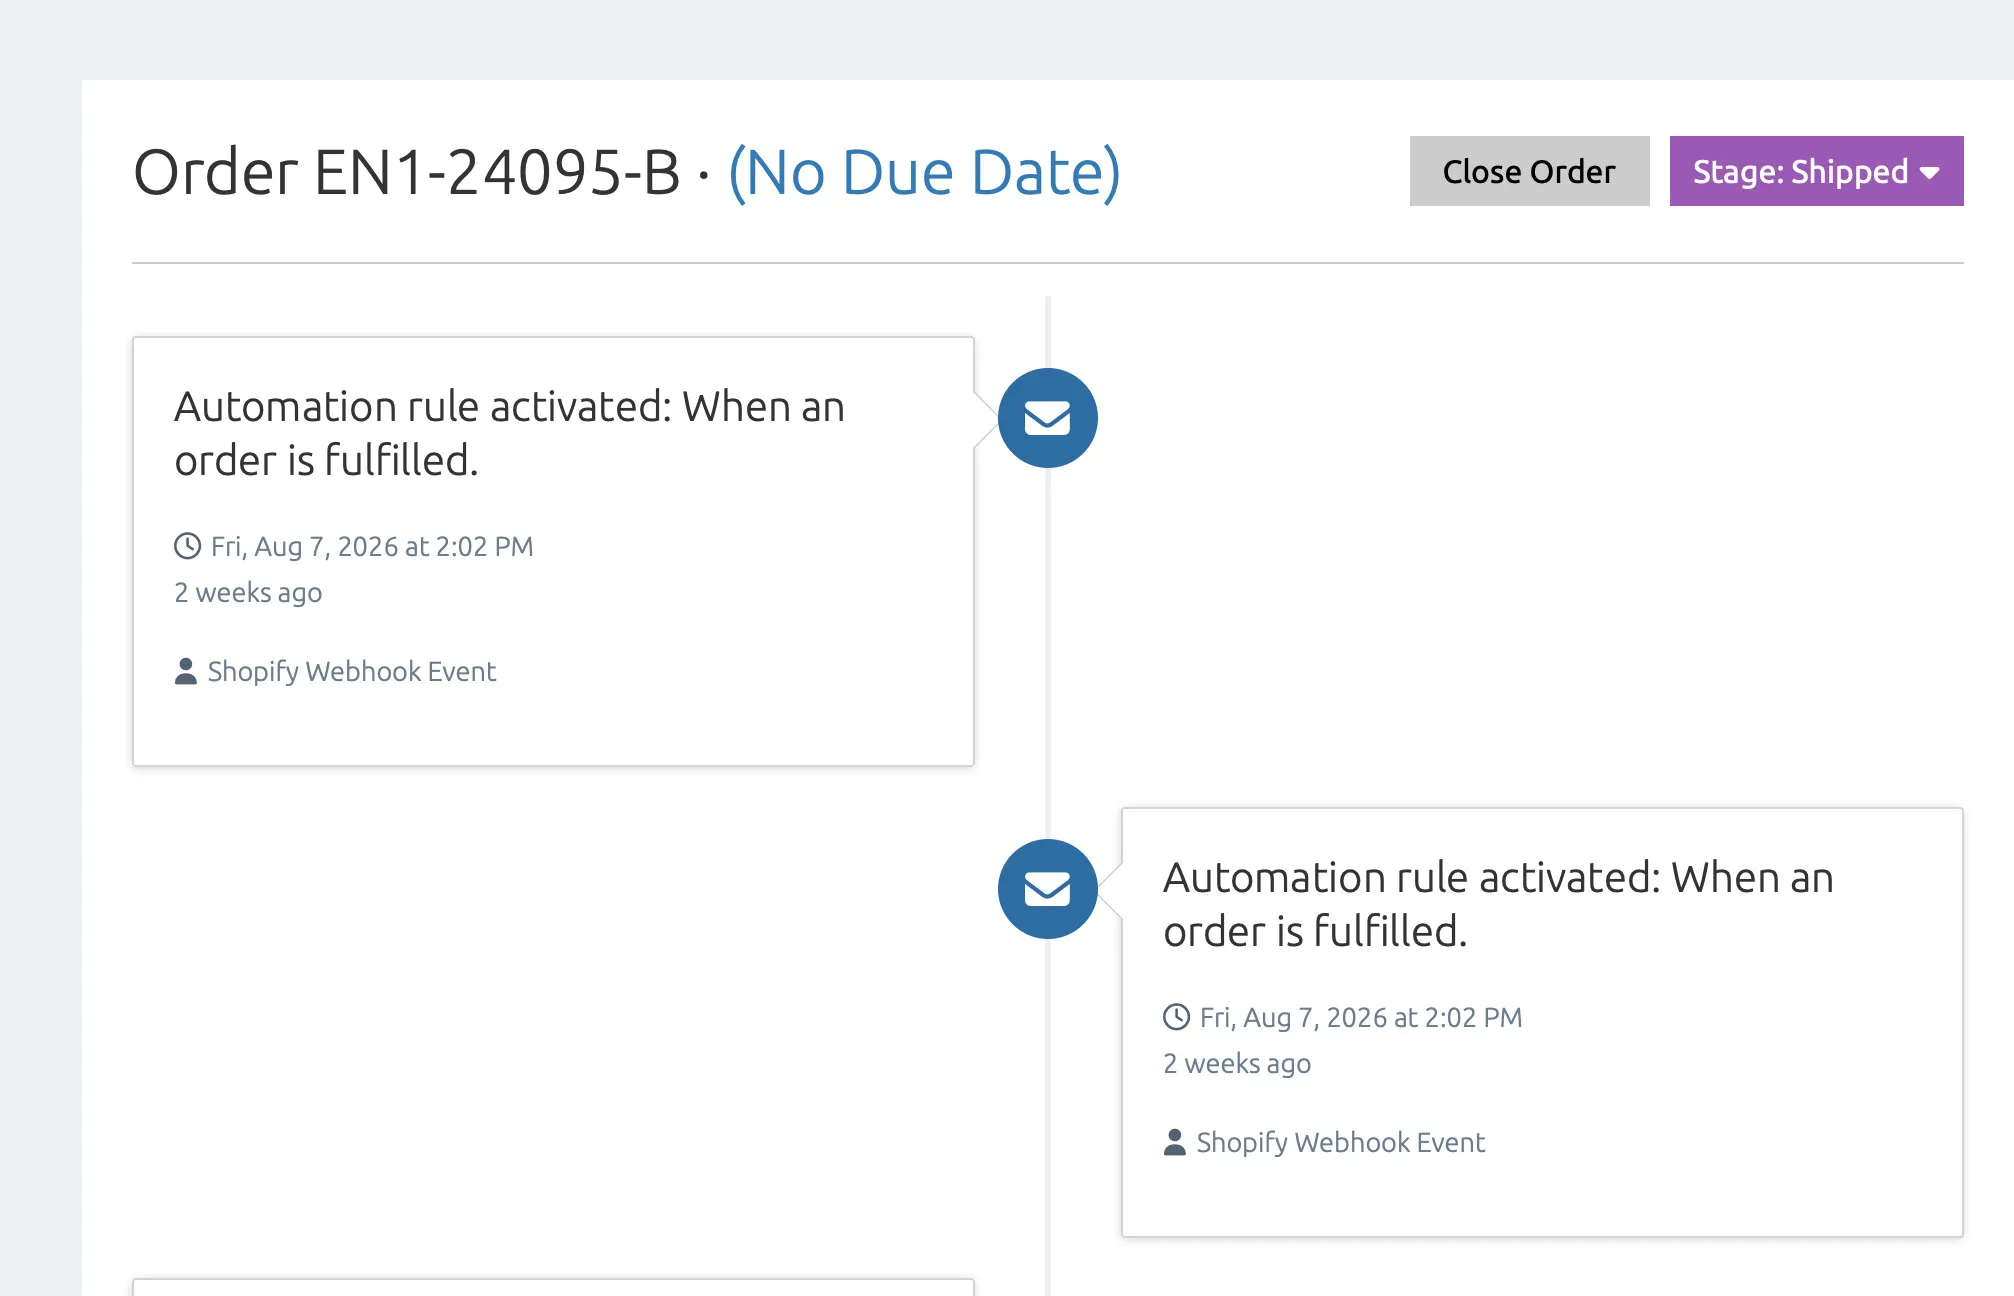
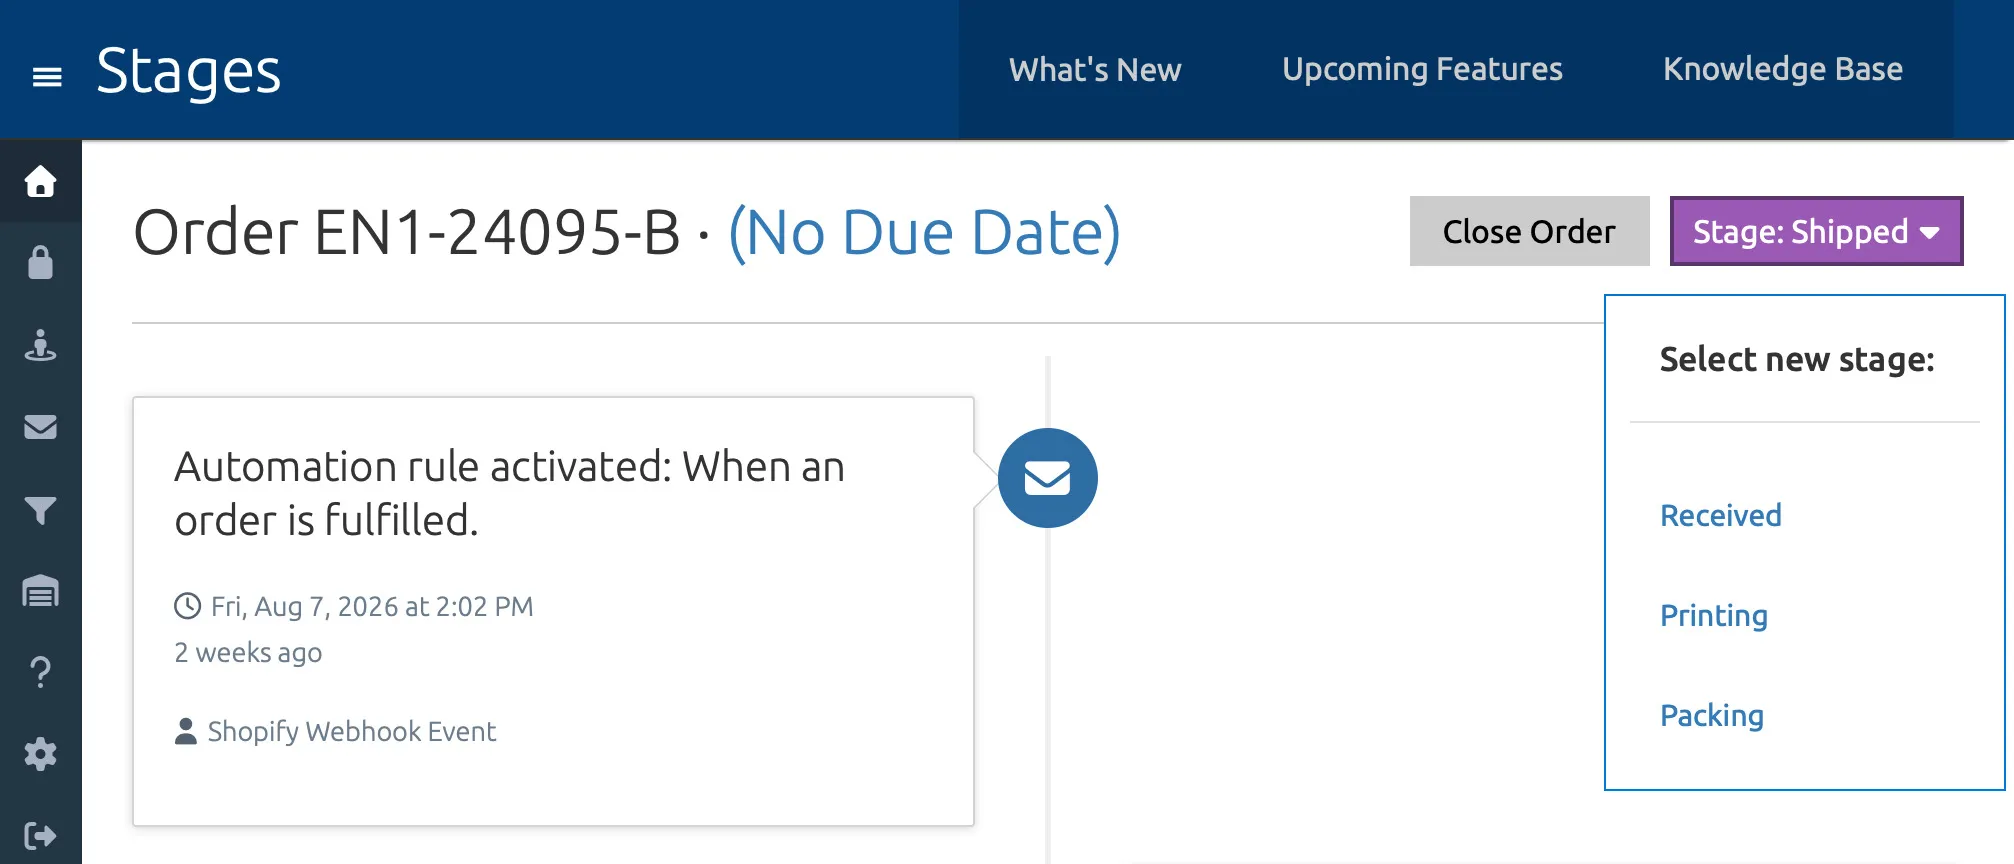
Section titled “Changing the stage”To change an order’s stage, click the stage button in the top right of the page. A dropdown will appear with all available stages — select the new stage and the order will update immediately.
Archiving and unarchiving orders
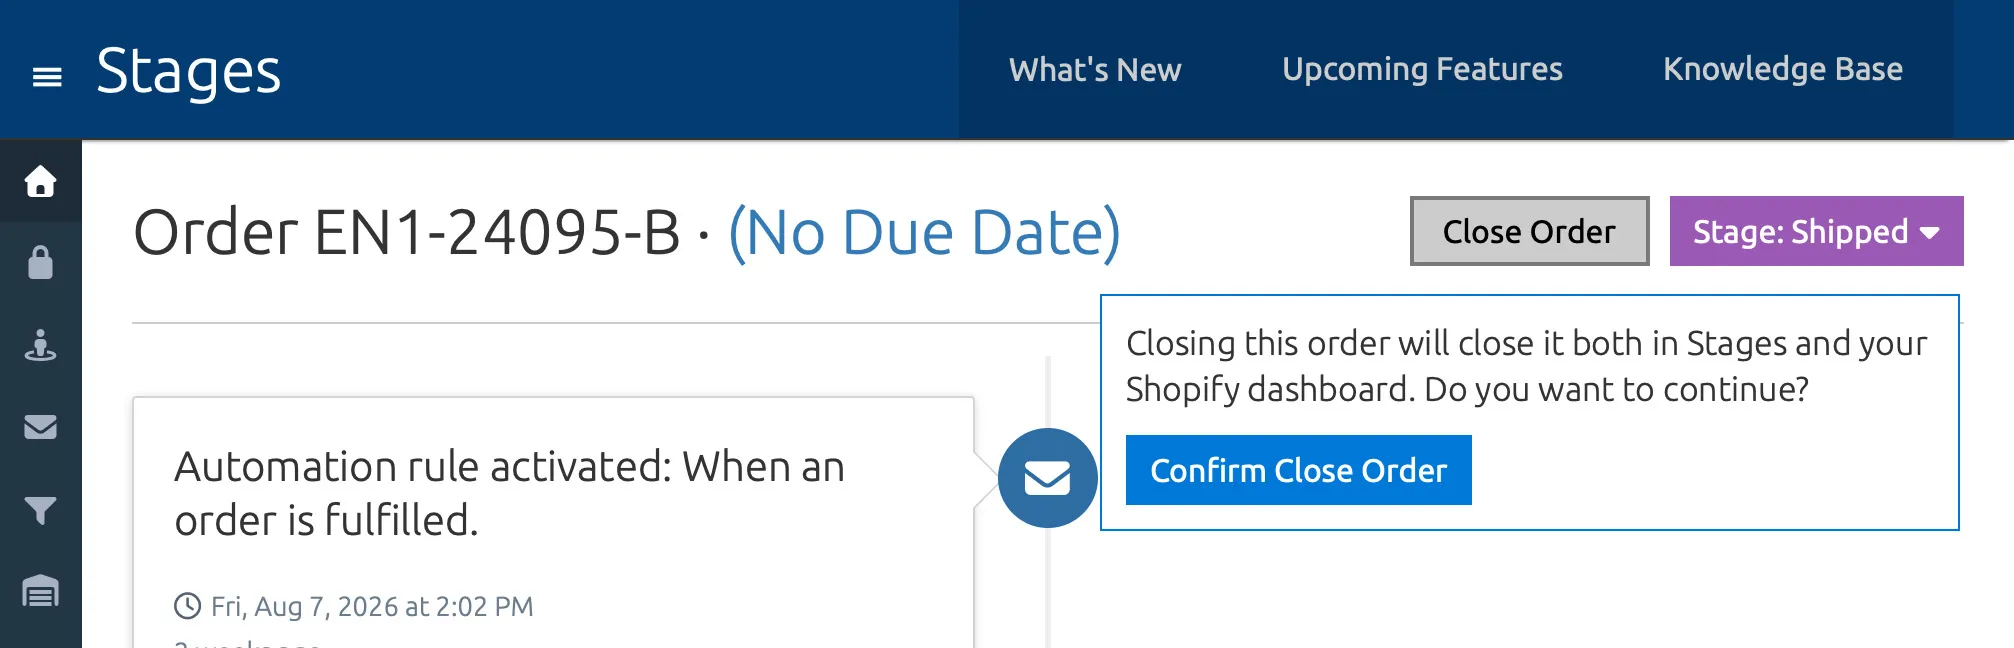
Section titled “Archiving and unarchiving orders”Orders can be archived (closed) or unarchived (reopened). Click the close order button in the top right to archive an order, or the open order button to unarchive it. Archived orders are still visible on the Orders dashboard but can be filtered out if needed.
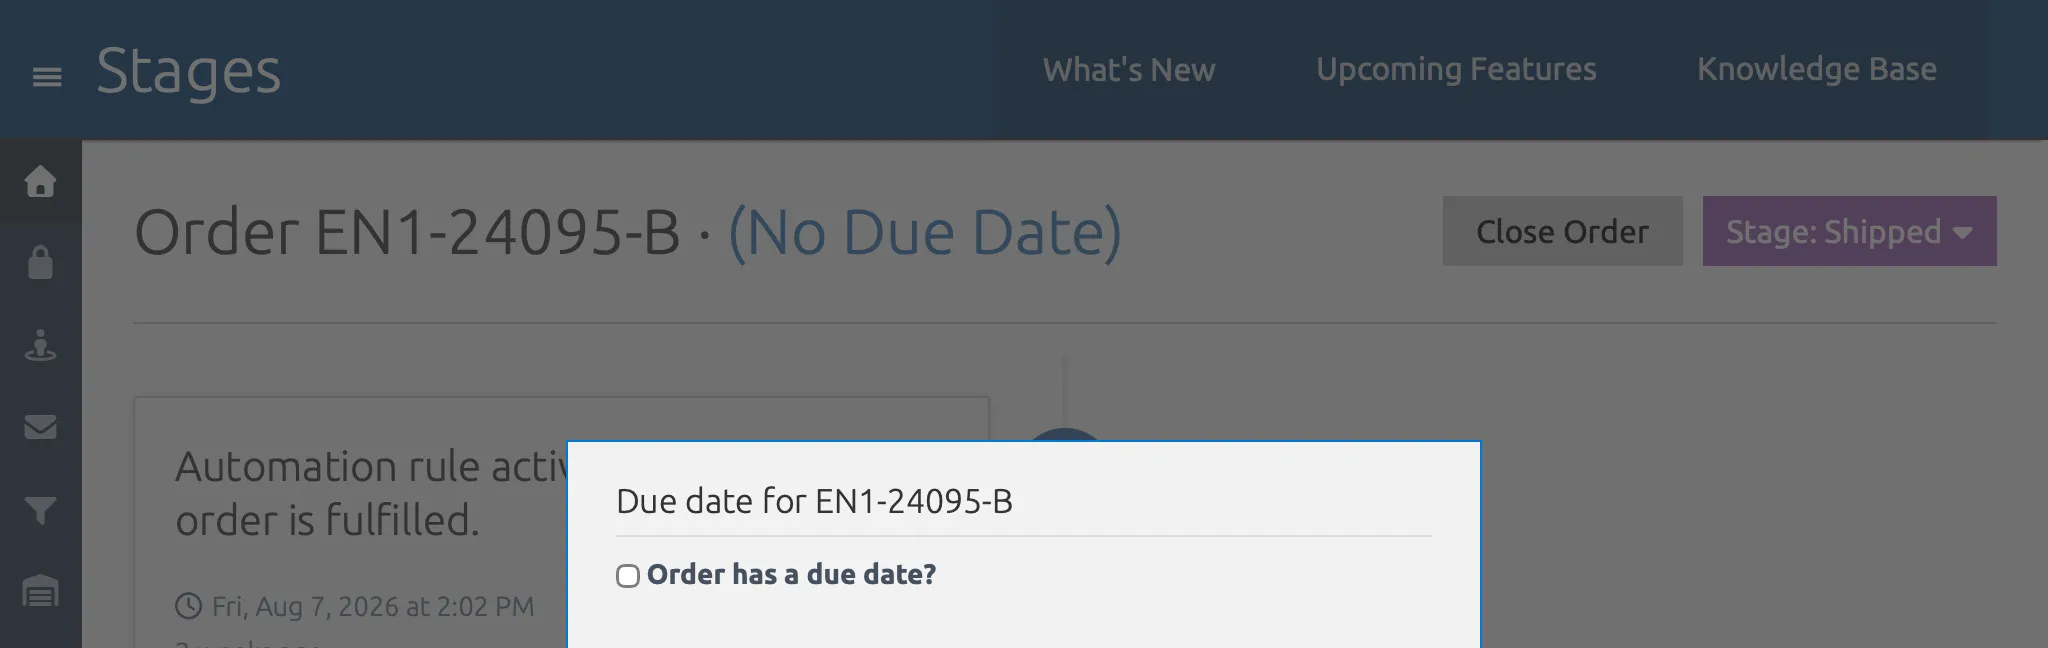
Setting the due date
Section titled “Setting the due date”The due date is displayed next to the order ID in the top left of the page. Click the due date text to set or change it. The due date turns red when an order is overdue, making it easy to spot orders that need attention.